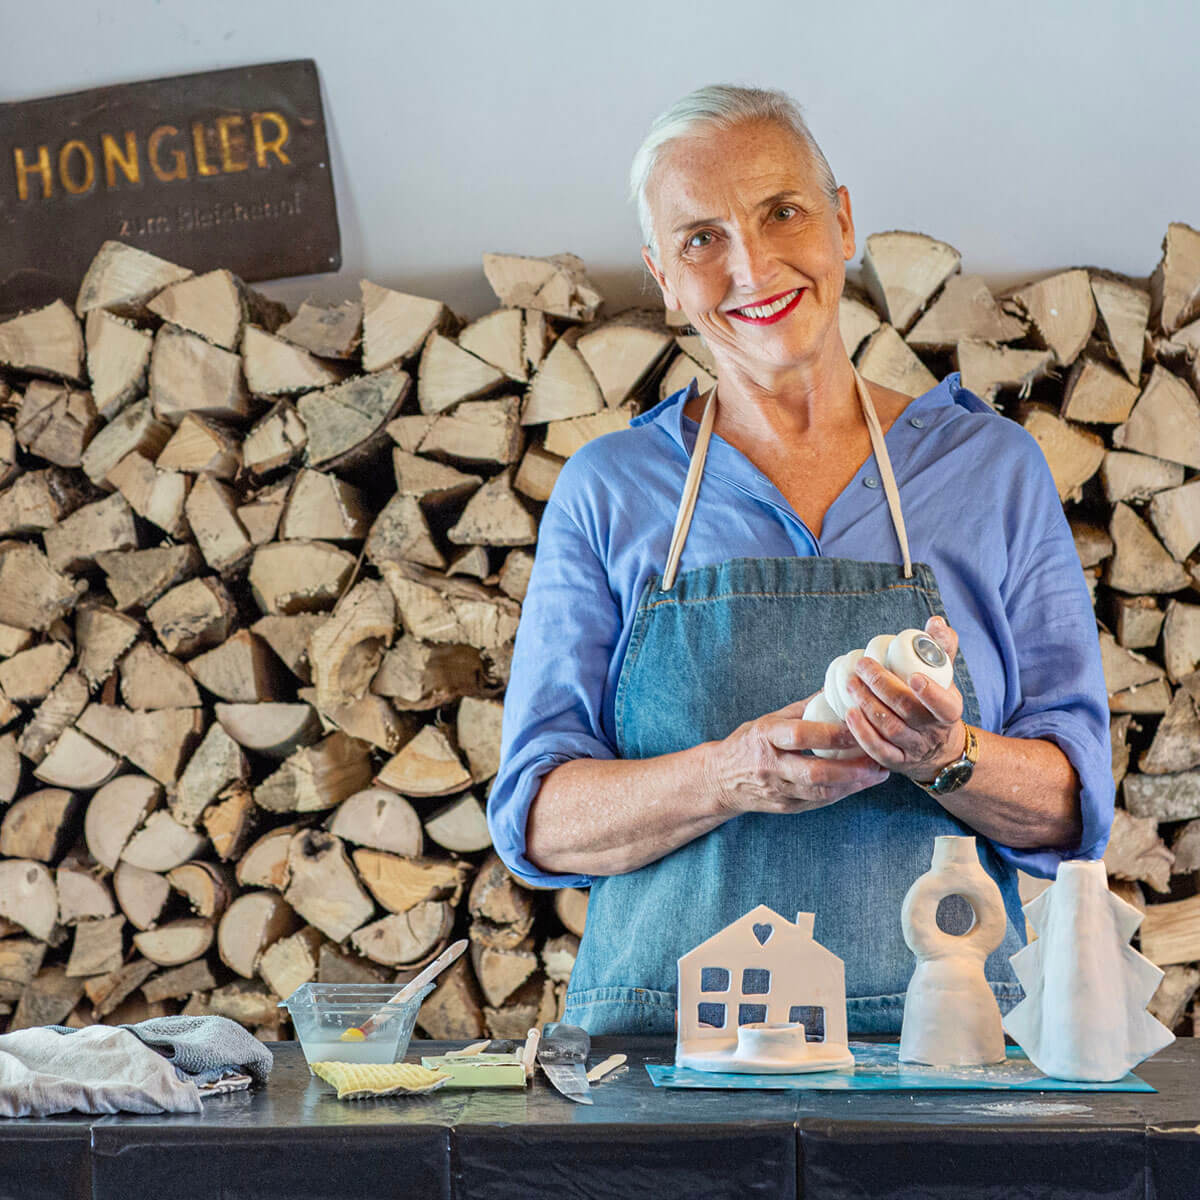
Get creative with our modelling clay set!
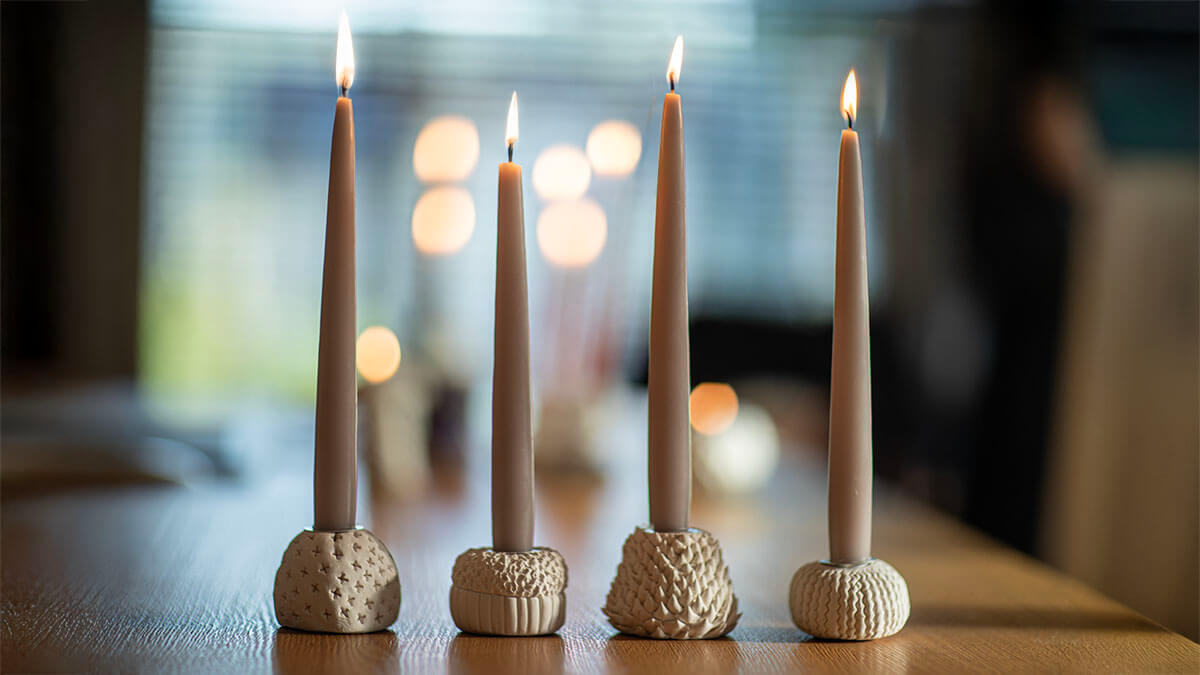
Candles create warmth and atmosphere - it's even more special when the candle holder is homemade. With air-drying Primo modelling clay, you can easily shape your own candle holder: whether simple, playful or modern - each piece will be unique. After drying, you can finish your work with paint or clear varnish to make it a real eye-catcher. Discover how much fun it is to create something of your own!


Art. 11770

Art. 11771

Art. 11772

Art. 11773

Art. 11774

Art. 8593

Art. 7415

Art. 10250

Art. 10251

Art. 6739

Art. 6740

Art. 6393

Art. 6395

Art. 6396

Art. 6397

Art. 9466

Art. 9467

Art. 9468

Art. 10592.39

Art. 10592M

Art. 10592.69

Art. 10592.47

Art. 10592.59

Art. 10592.83

Art. 10242

Art. 3289.39

Art. 3289.26

Art. 3289.21

Art. 3289.14
Barbara shows you how to make a beautiful, simple candle holder yourself using the modelling clay set - creative, quick and easy.
General helpful TIPS
- Place the modelling clay in a plastic bag immediately after unpacking to prevent it from drying out.
- Place a clear plastic bag underneath when moulding - this makes it easy to turn and remove the workpiece.
- Always score the joints well (e.g. with a toothpick) and moisten them so that the pieces adhere. Dried pieces can also be joined in this way.
- Keep some reserve compound for repairs: Moisten the area, apply the compound and smooth it out.
- Smooth surfaces and edges with a wet finger.
- To save material, use objects such as jars, bottles, polystyrene balls or aluminium foil as filling material.
- Leave to dry - do not accelerate (no oven, no sun), otherwise cracks will appear - the larger the object, the greater the risk of cracking.
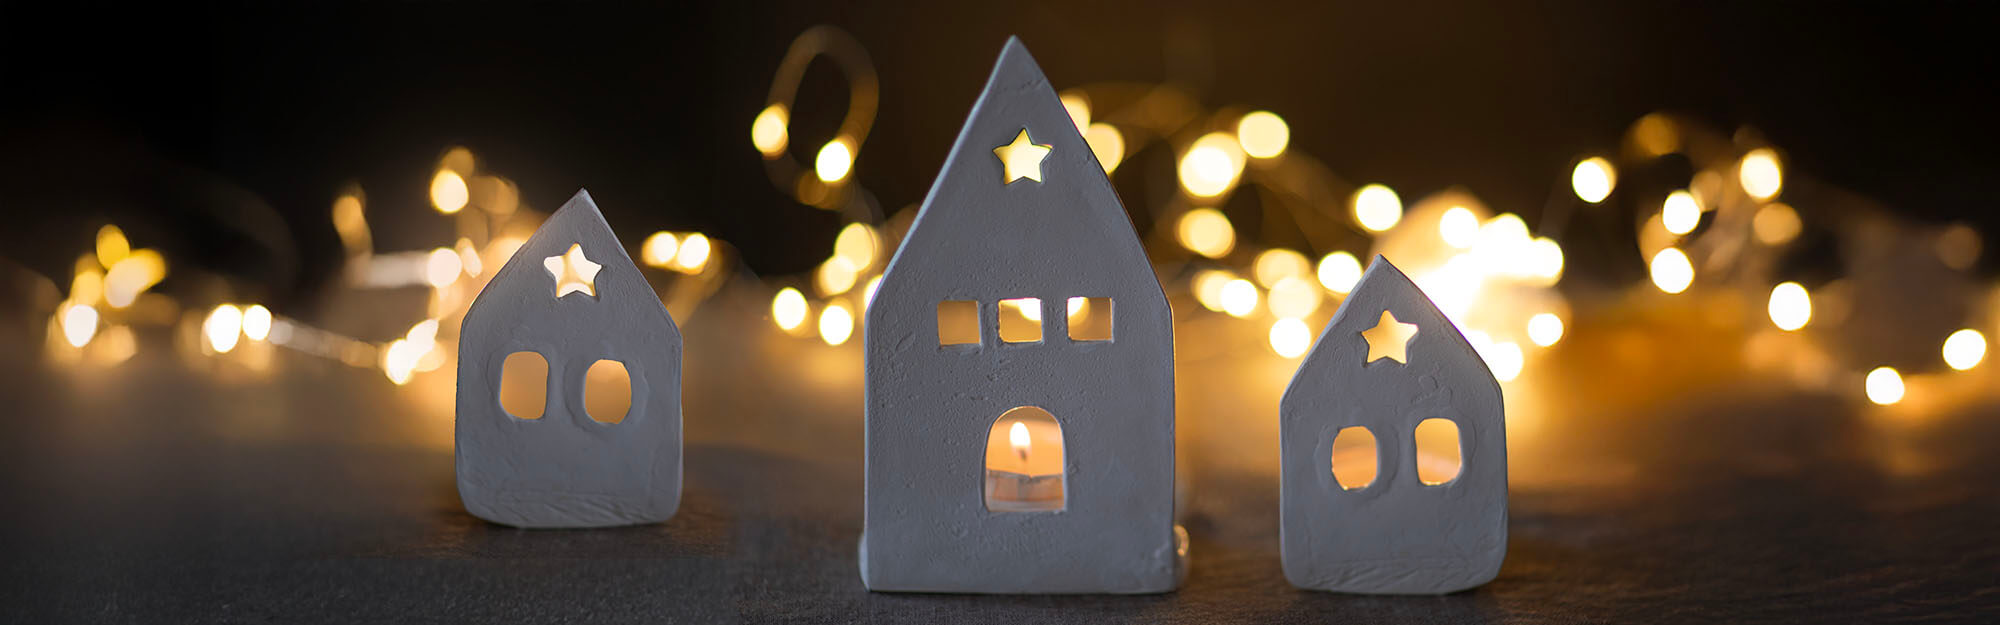
Christmas cottage
Barbara shows you in a short video how to create enchanting Christmas houses.
Step-by-step instructions
Step 1
Prepare the workstation, draw the house design on card/paper and cut it out, also cut out the base.
Step 2
Knead the modelling clay well, roll out to a thickness of 3-5 mm, place on a piece of transparent paper, place the template on top and cut out the little house.
Step 3
Score the bottom edge of the little house approx. 1 cm wide crosswise (for connection to the base).
Step 4
Knead the modelling clay again, roll out to a thickness of 5-8 mm, place the template on top and cut out the base.
Step 5
Score the rear edge of the base and the place for the tea light.
Step 6
Wrap the flattened mass around the tealight holder, smooth it out, score the underside and base, moisten and press the holder on.
Step 7
Place a thin sausage of modelling clay around the tea light, press firmly and smooth with your finger/tool. Allow to dry in between and press the surface flat.
Step 8
Moisten the edge of the house and the base to connect them, carve a sausage out of modelling clay, place it on top and press both parts together firmly.
Step 9
Carefully smooth out the transitions and ensure that the surface is vertical when drying (if necessary, support it with an aid).
Step 10
Once completely dry, smooth out any unevenness with sandpaper; optionally paint or varnish.
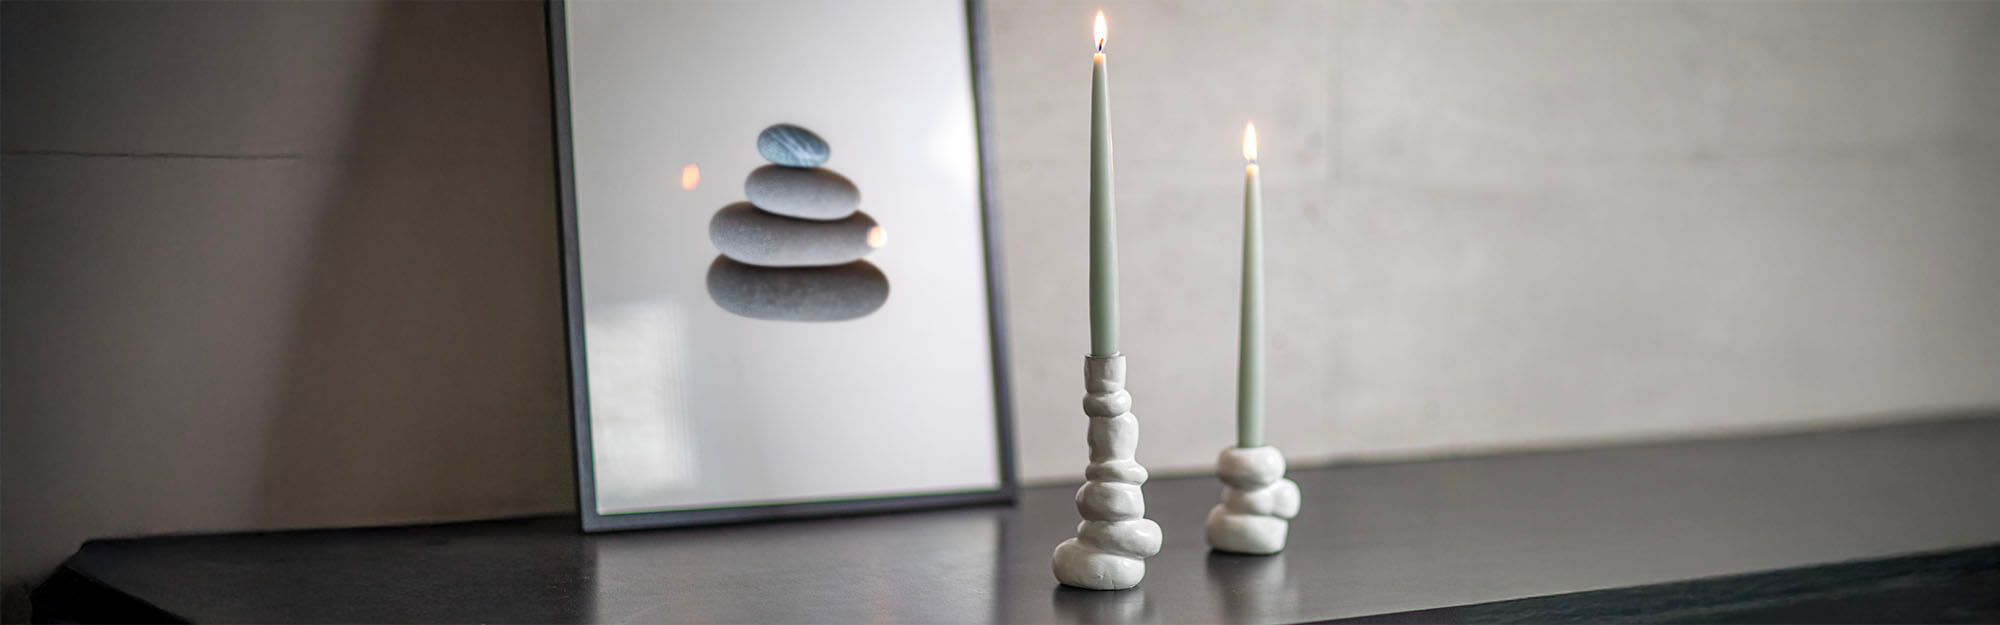
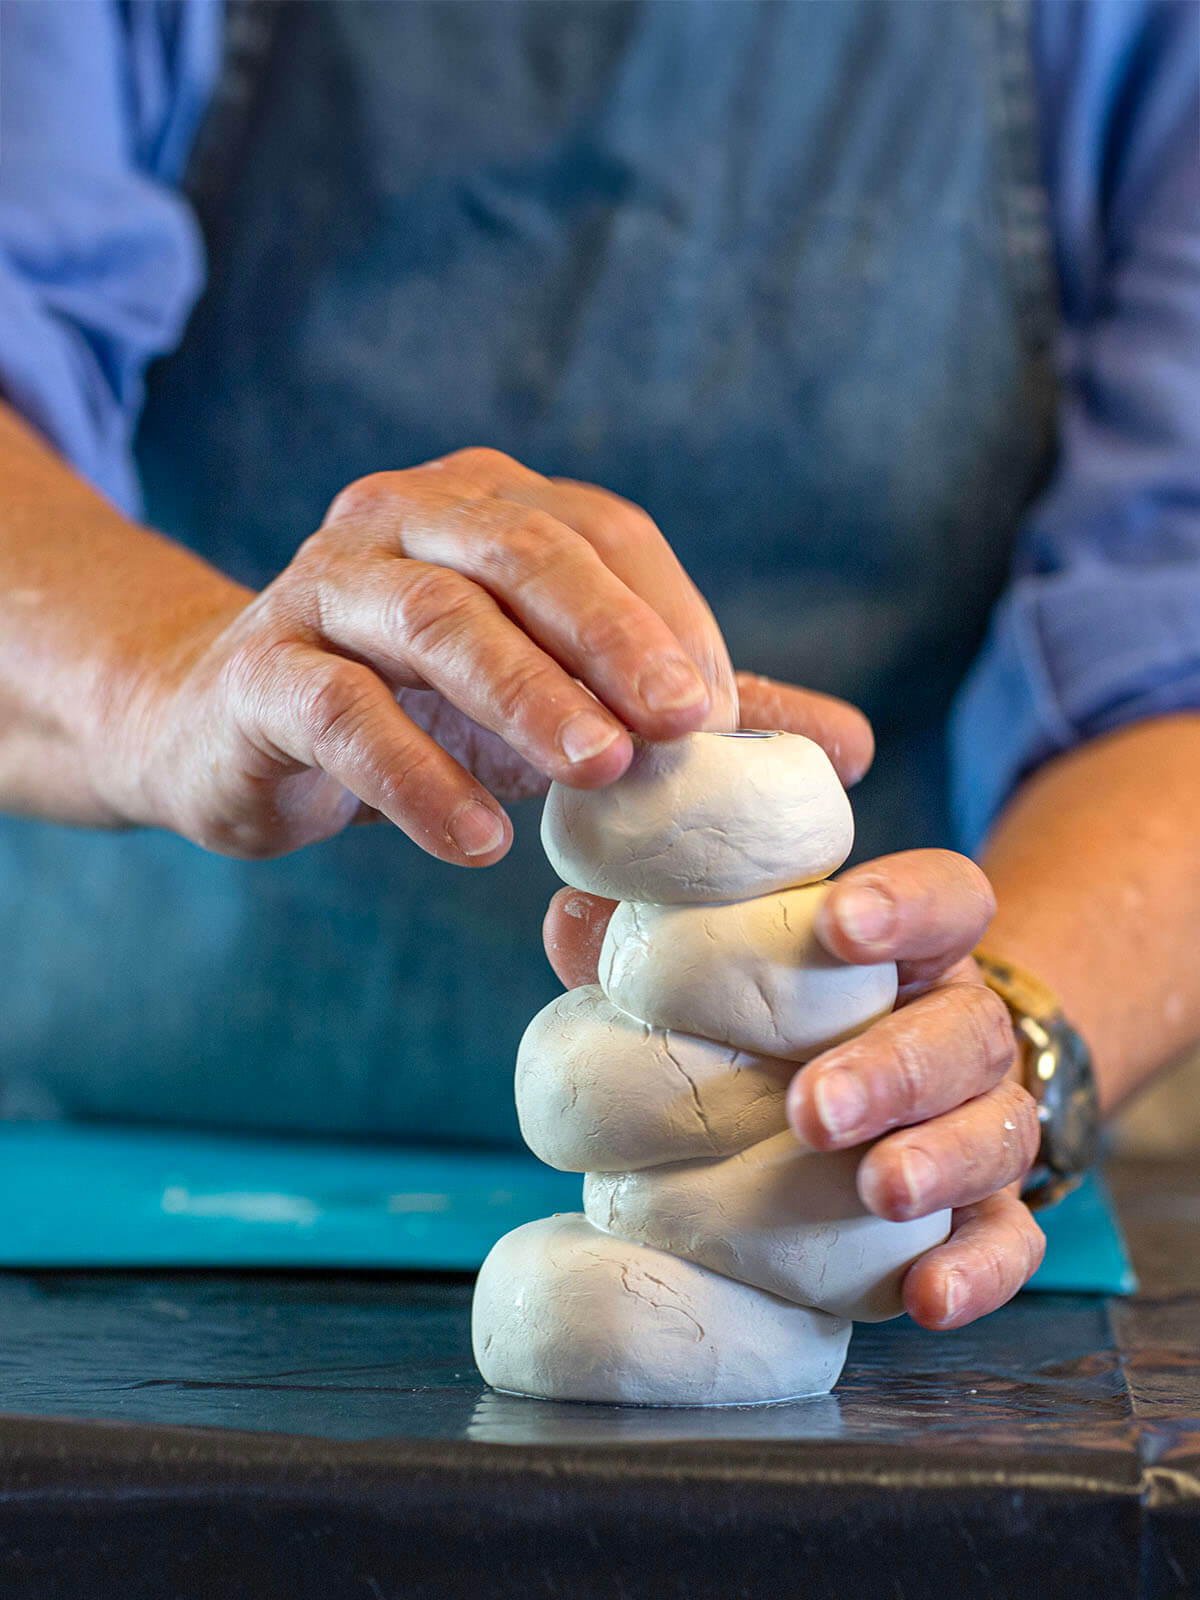
Stone towers Candlesticks
Barbara shows in a short video how to create a stone tower candle holder with modelling clay.
Step-by-step instructions
Step 1
Prepare the workplace.
Step 2
Knead the modelling clay well and form different balls.
Step 3
Use a pottery tool or a toothpick to score the largest ball crosswise where the second ball is to be placed. The different elements will join together better as a result of the carving.
Step 4
Break a toothpick in half and insert it into the ball (stability aid).
Step 5
Also score the second element on the underside.
Step 6
Apply a little water to the roughened surfaces with a brush.
Step 7
Place element 2 on element 1 and press down firmly.
Step 8
Score the elements one after the other, moisten slightly, stabilise with toothpicks, place on top and press down.
Step 9
Insert the candle sleeve into the last element. Connect the elements as before.
Step 10
Support the tower during drying, check the shape regularly. Drying time: several days (depending on size).
Step 11
To ensure stability and hold between the balls, moisten the joints with water and press a thin sausage of modelling clay between the elements and spread it into the space between them using a tool and your finger.
Step 12
Cracks can appear when the modelling clay dries out. To repair these, moisten the area and apply a little modelling clay, which you then smooth out with a damp finger.
Step 13
Once the candle holder is completely dry, smooth out any unevenness with sandpaper and optionally paint and/or varnish with acrylic paint.
Donut candlestick
Barbara shows in a short video how to create a donut candle holder with modelling clay.
Step-by-step instructions
Step 1
Prepare the work area, cut off the modelling clay, knead well and roll out to a thickness of 3-5 mm.
Step 2
"Wrap" the lantern glass with modelling clay, place on foil and smooth the surface with a moistened finger. Score the top edge.
Step 3
Shape the aluminium foil into a ring (approx. 5-6 cm, to fit the base) and cover with modelling clay. Score the connecting surfaces.
Step 4
Wrap the sleeve with flattened modelling clay, score the underside, moisten and place on the ring. Stabilise with a thin sausage of modelling clay and smooth out.
Step 5
Connect the ring (donut) to the base: Moisten the surfaces, place the carved sausage on top, press down and smooth out. Check the shape while drying and correct if necessary.
Step 6
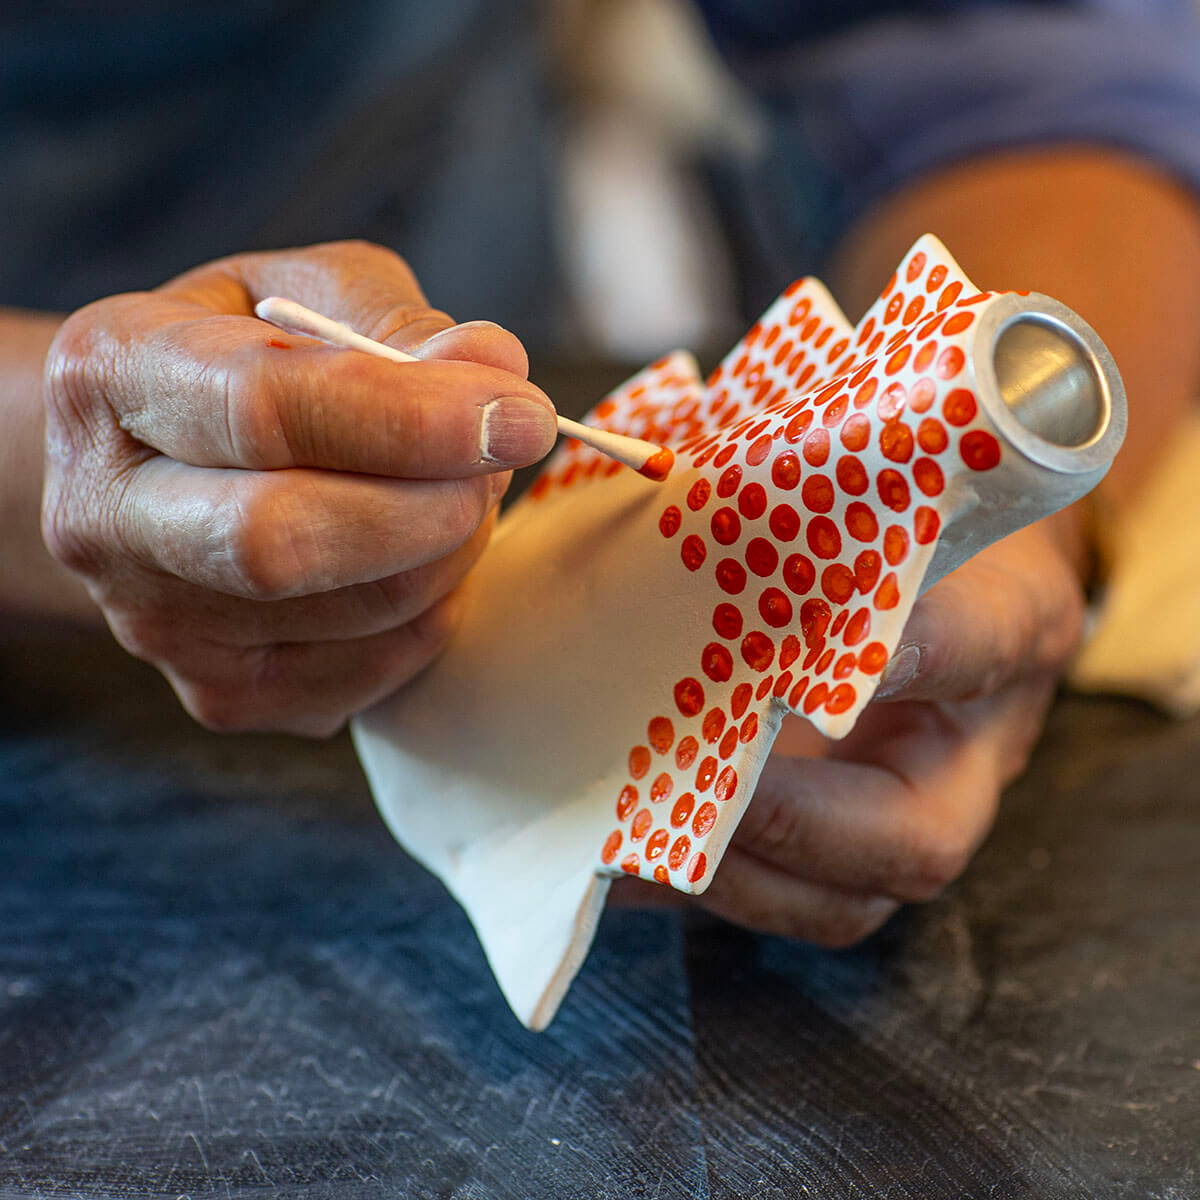
Once completely dry, smooth out any unevenness with sandpaper. Optionally paint or varnish. Dabs of colour can be applied with a cotton bud.
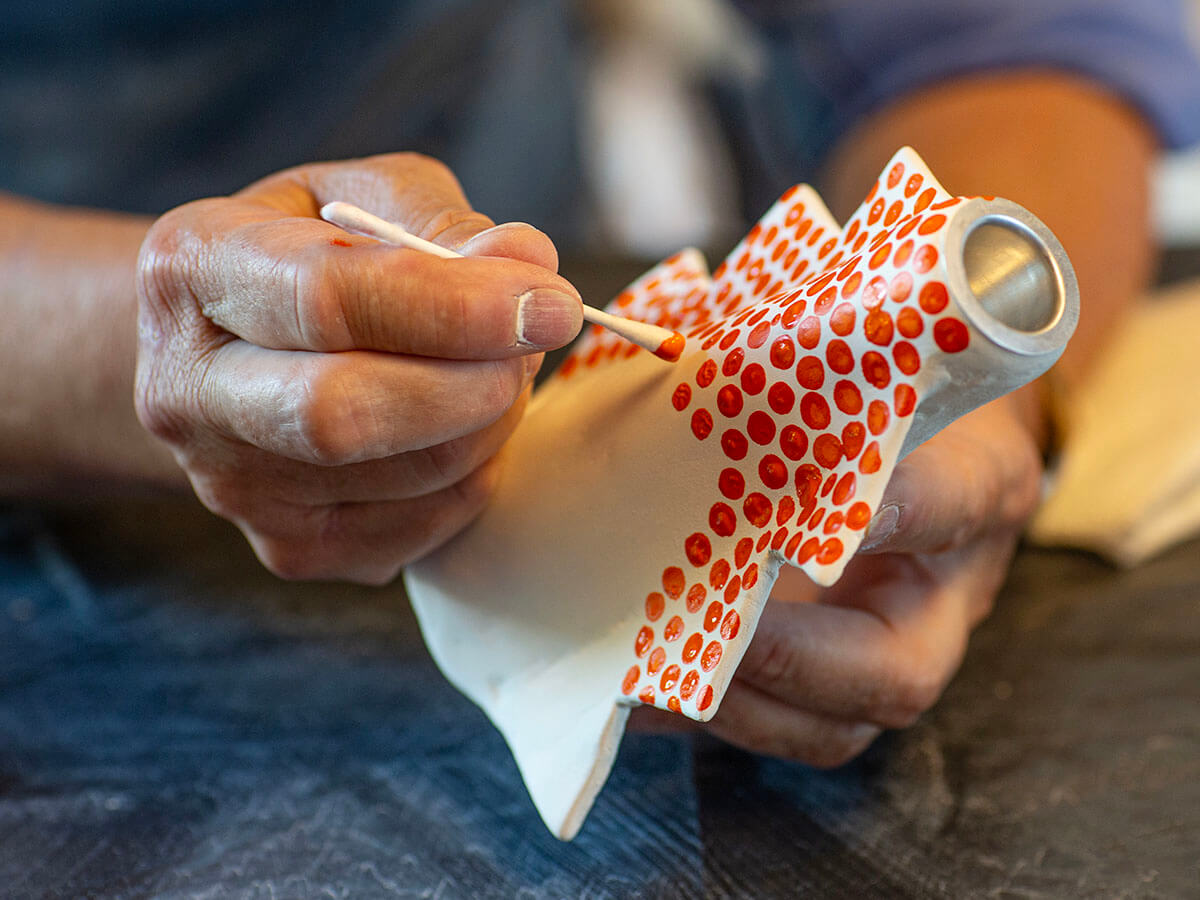
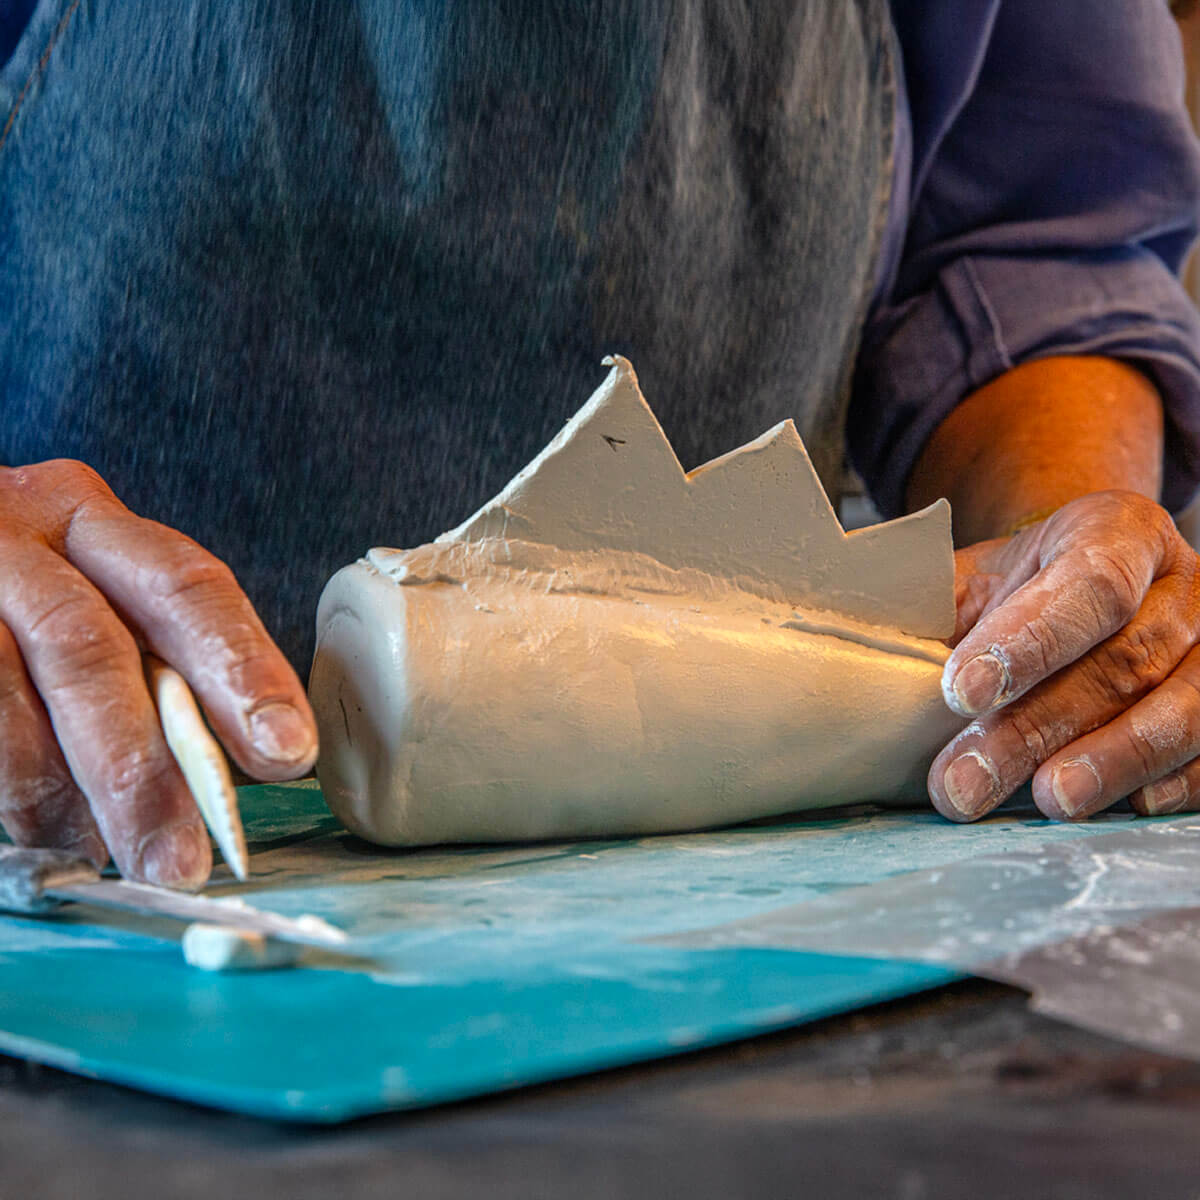
Candle holder with spikes
As with the donut candle holder, a stable basic element, e.g. a Sanbitter or Crodino bottle, forms the base. Instead of an aluminium ring, jags are created which are cut out using templates and attached after drying. The principle is the same: Kneading, rolling out, carving and careful joining. A new addition is working with cardboard templates to precisely cut out the characteristic spikes.

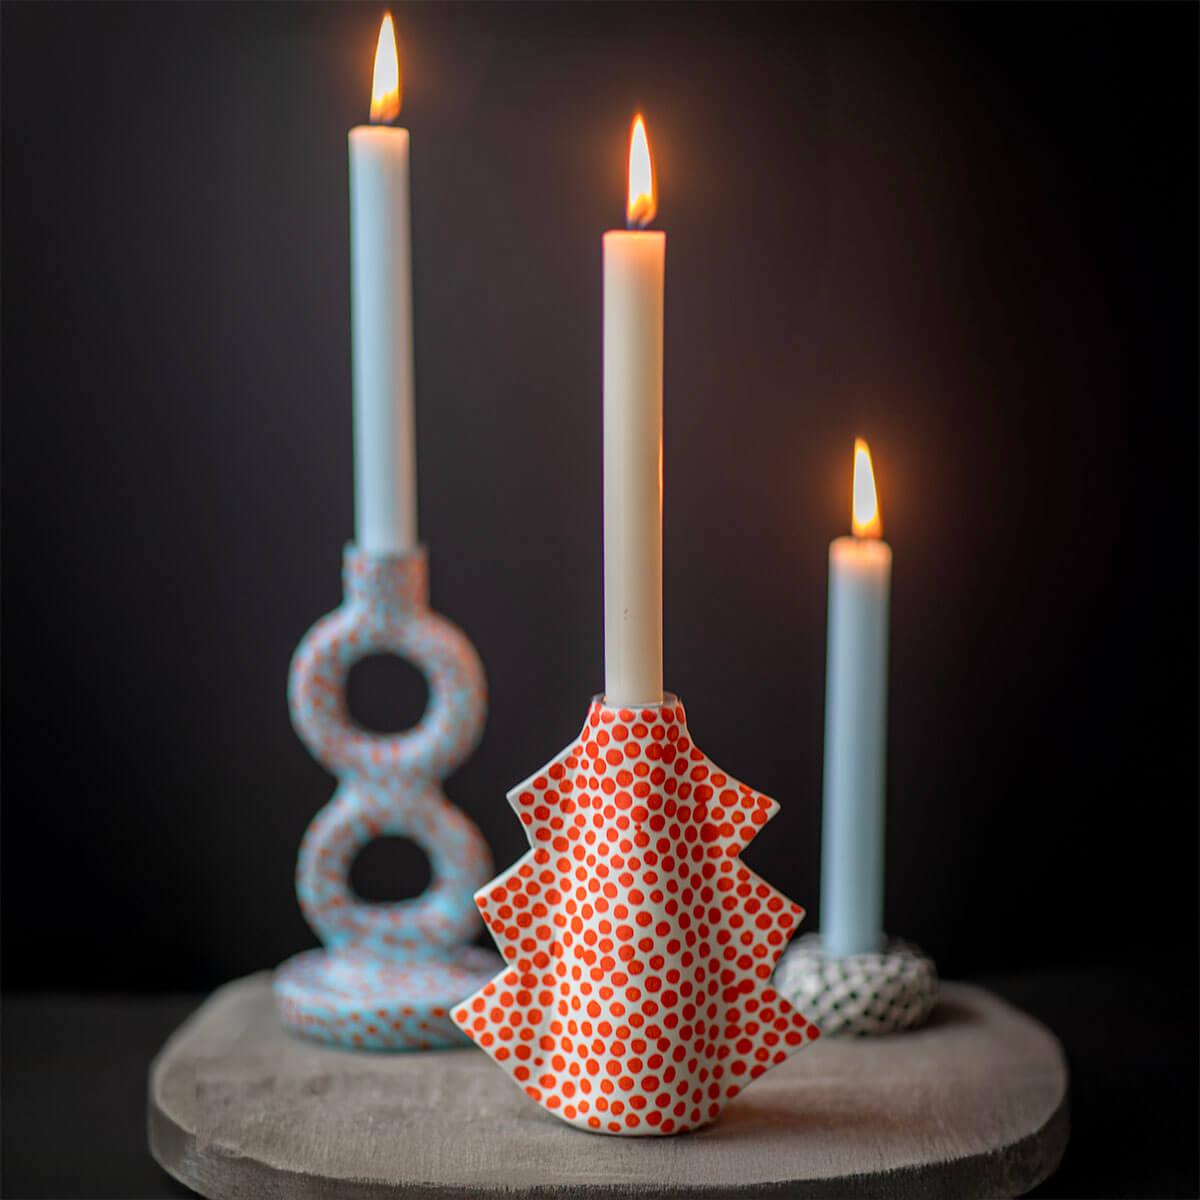
Creative candle holders - as unique as your ideas
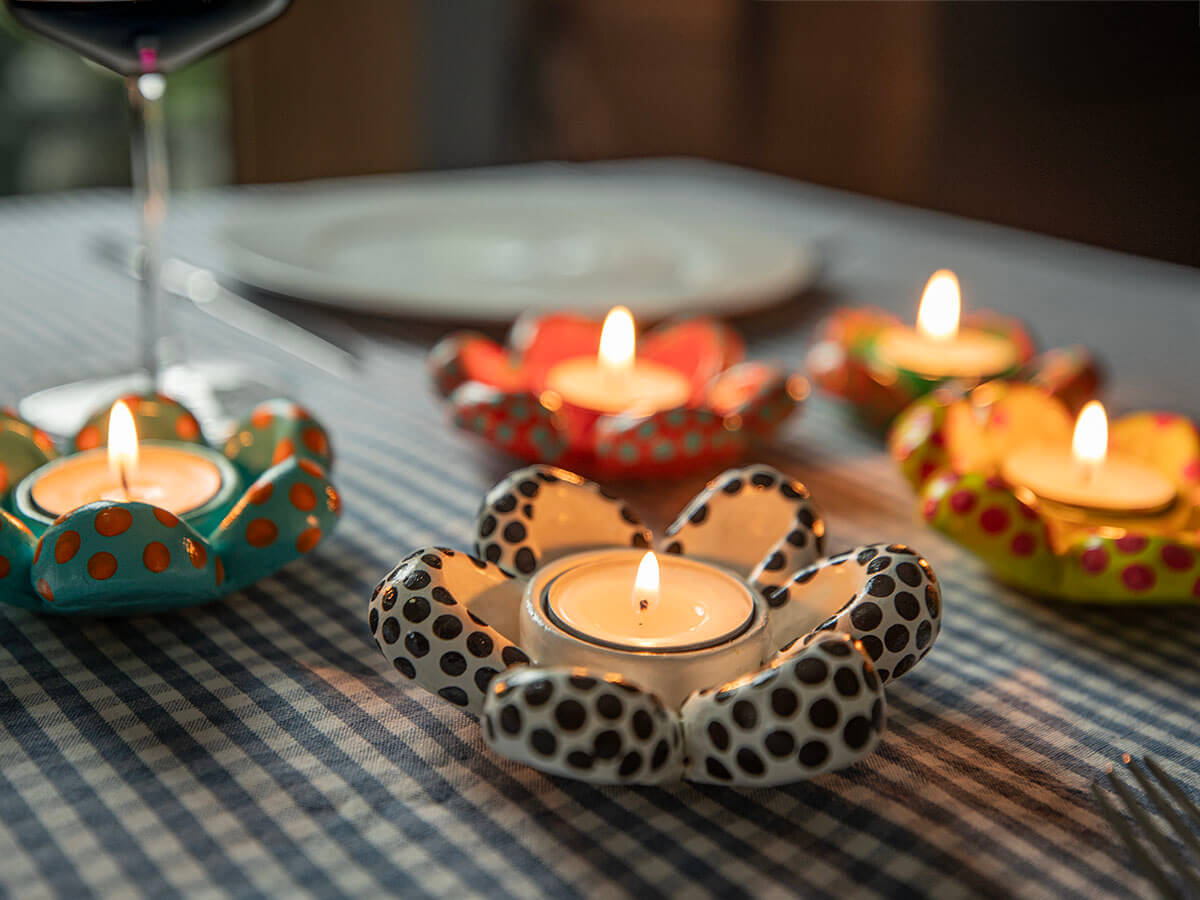
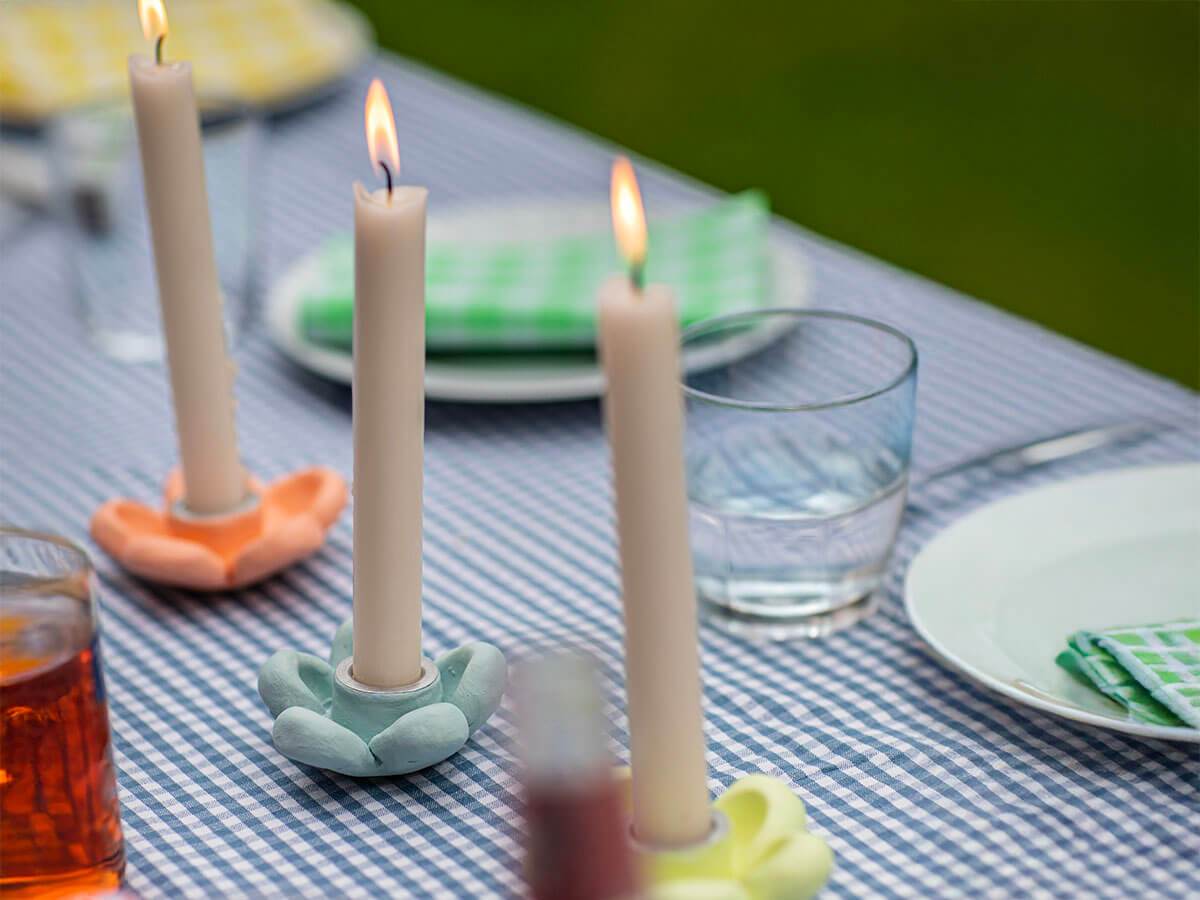
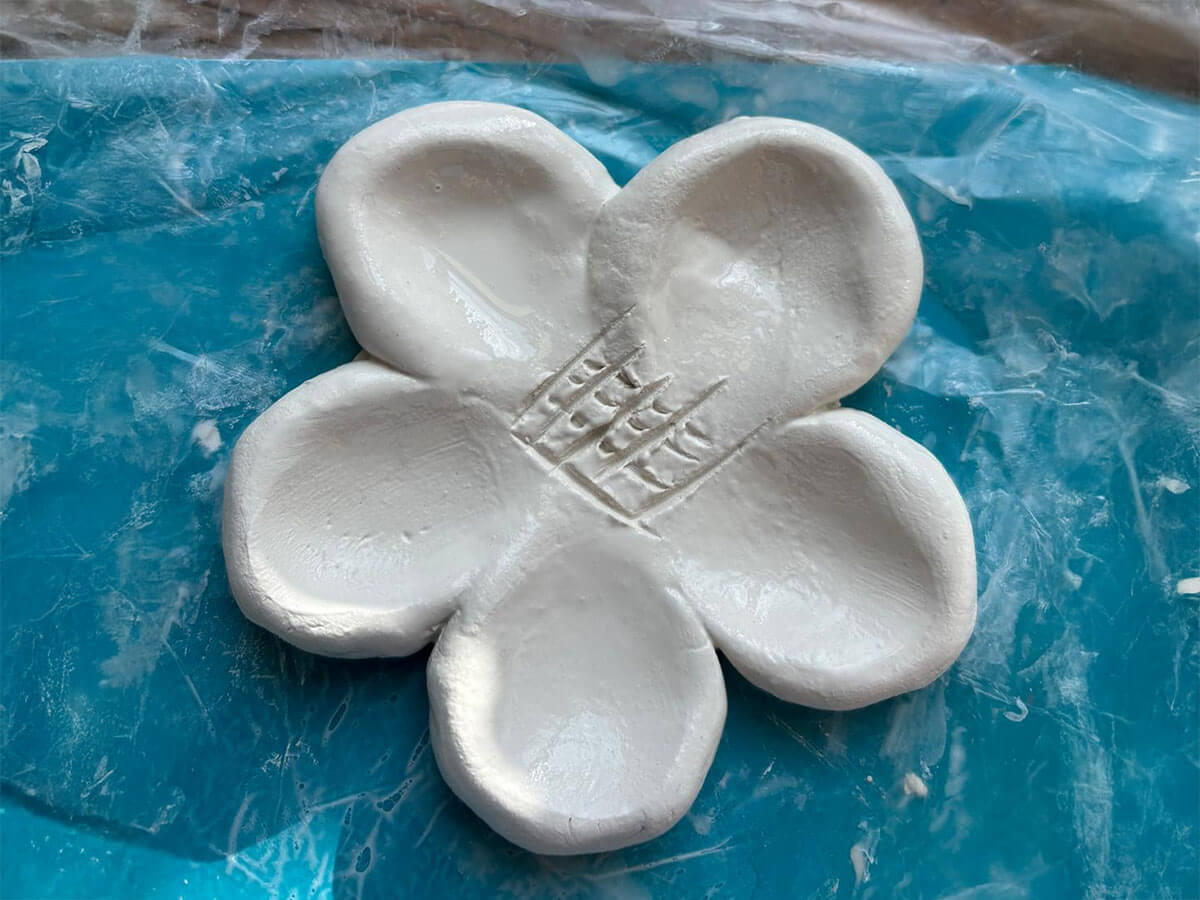
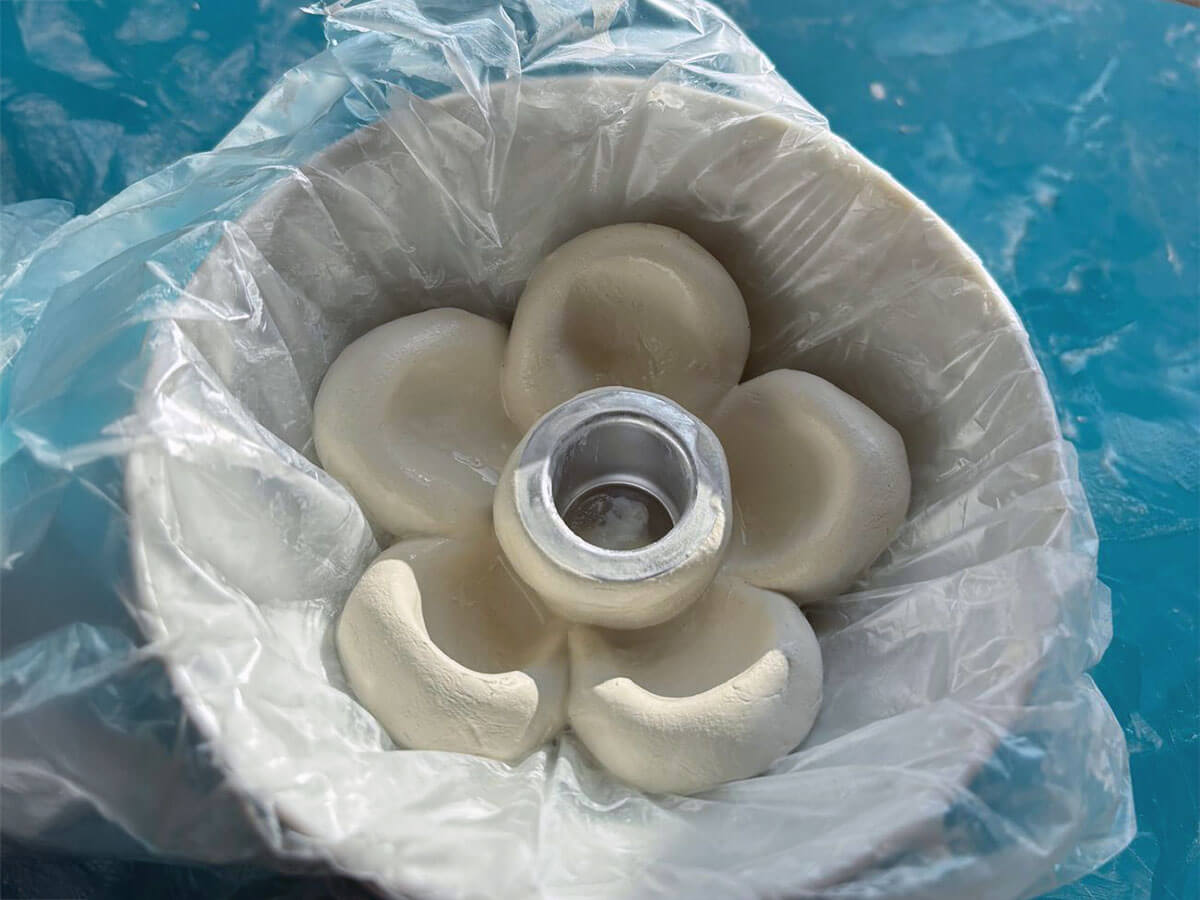
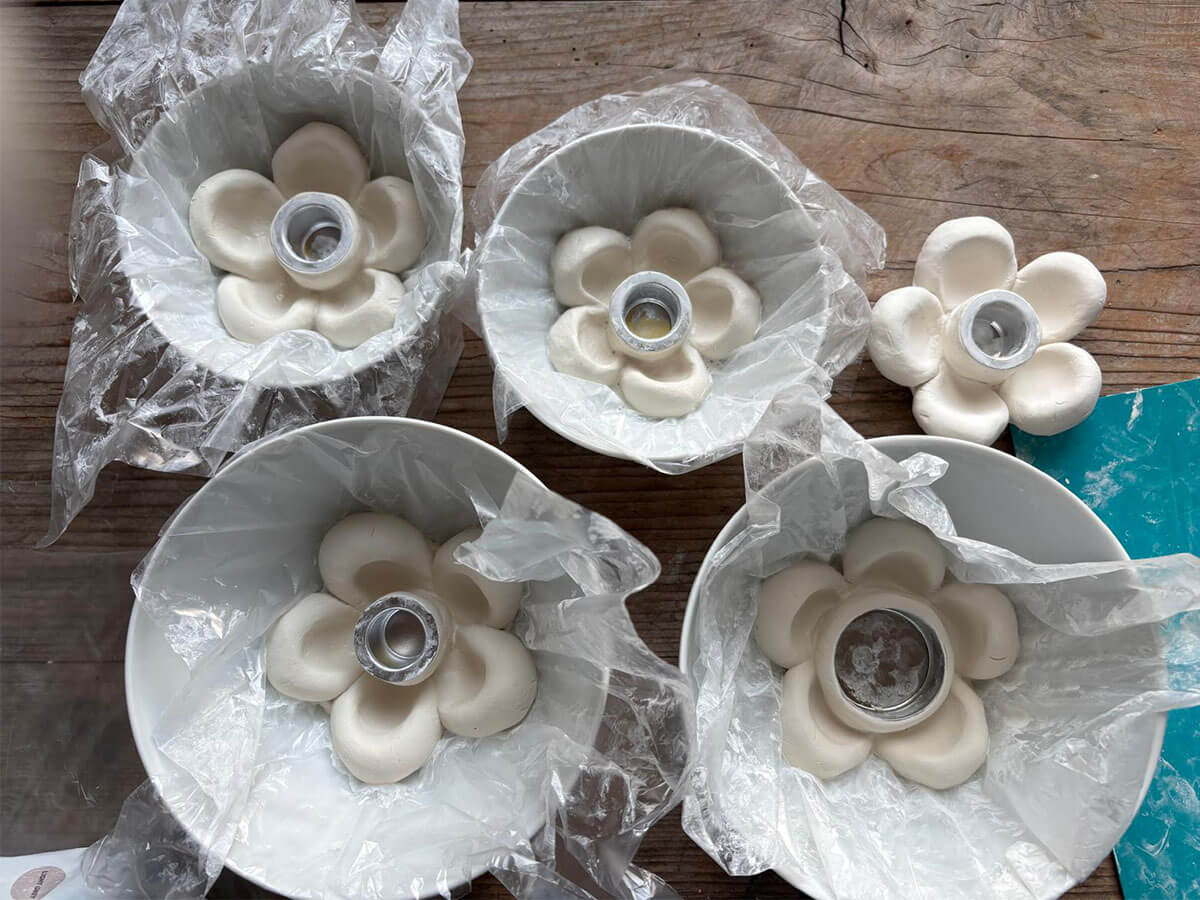
There are no limits to your imagination when modelling candle holders. Whether in a delicate flower shape, refined with fine embossing or as a modern version with a tube look - each piece becomes a very personal work of art. Shapes, textures and surfaces can be playfully designed to create unique candle holders that not only provide light, but also give your home an individual touch.
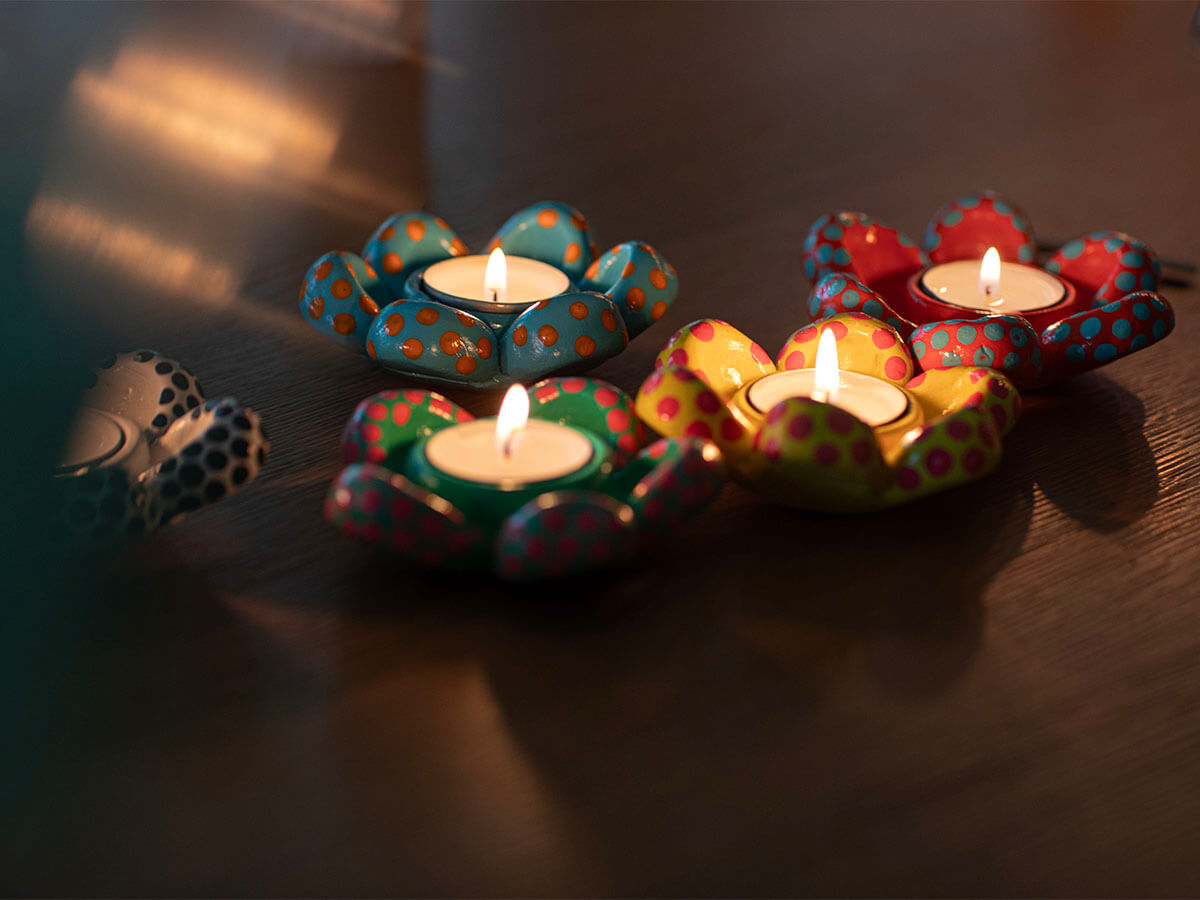
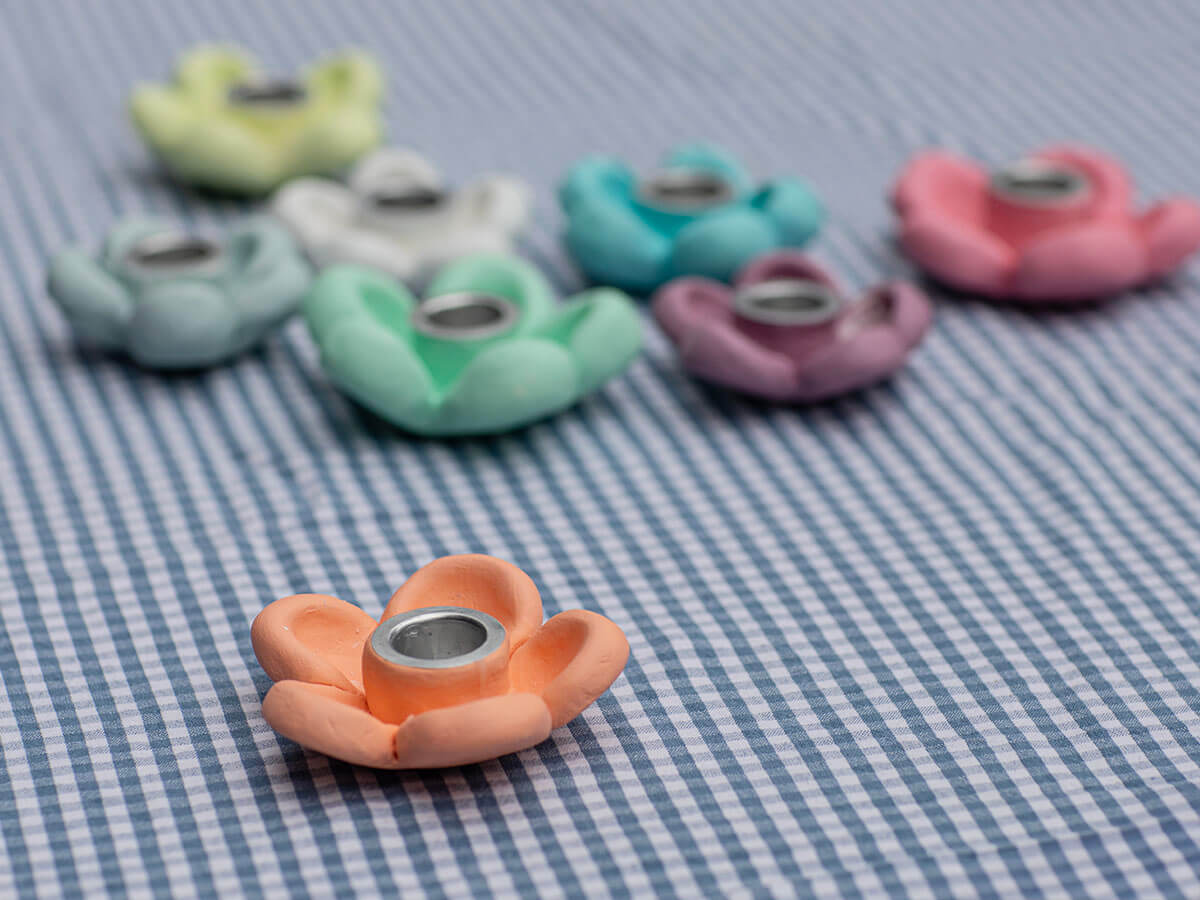
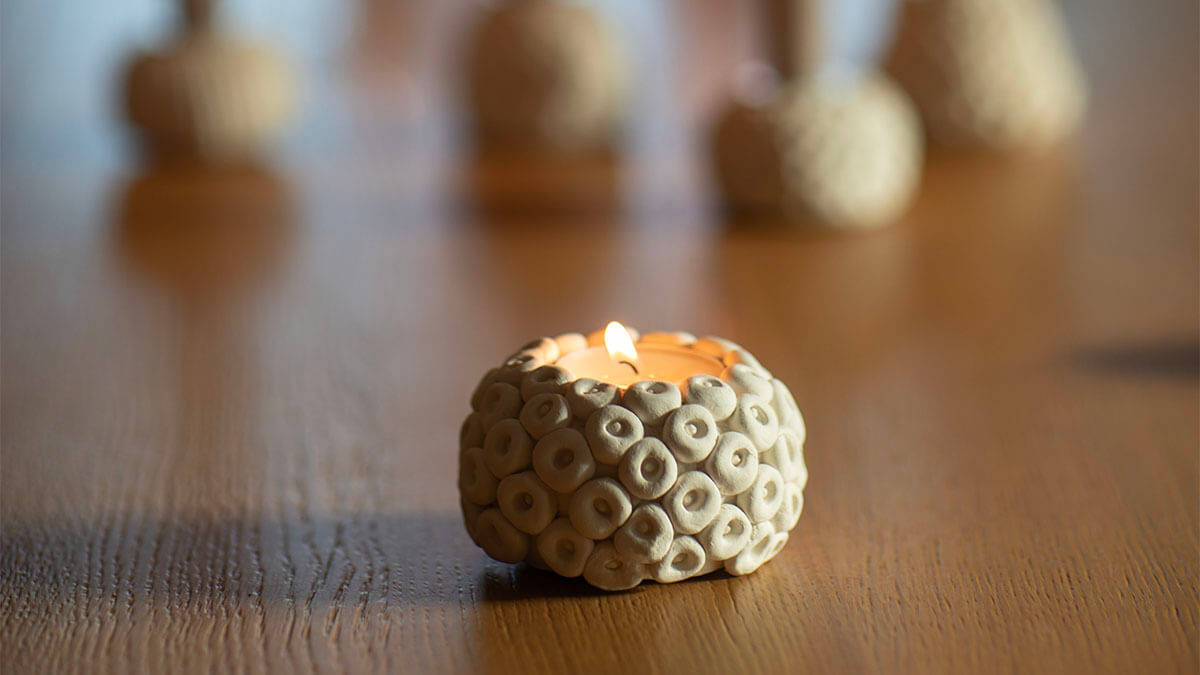
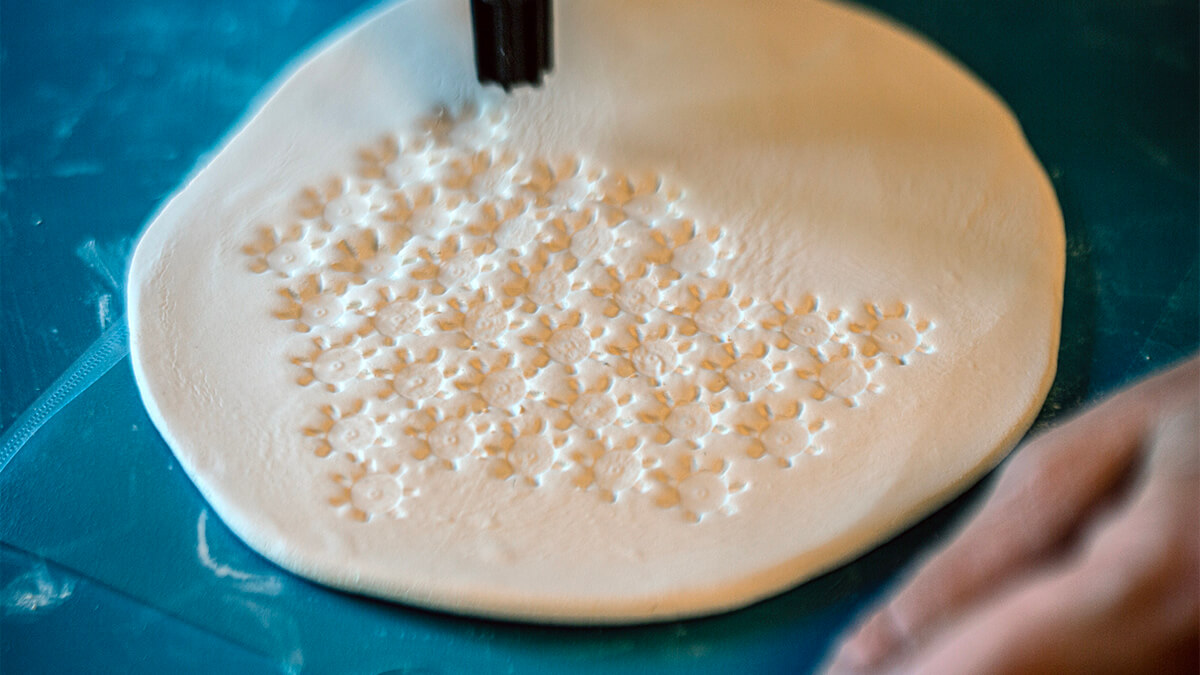
Making flower-shaped tea light holders is fun and creative. You can create unique decorative pieces with your own moulded flowers, which look particularly beautiful by candlelight.
The Star Cookie Tree Set (Art. No. 10242) is ideal for cutting out stars from modelling clay and can be used to easily make Christmas tree candle holders by stacking the stars of different sizes.
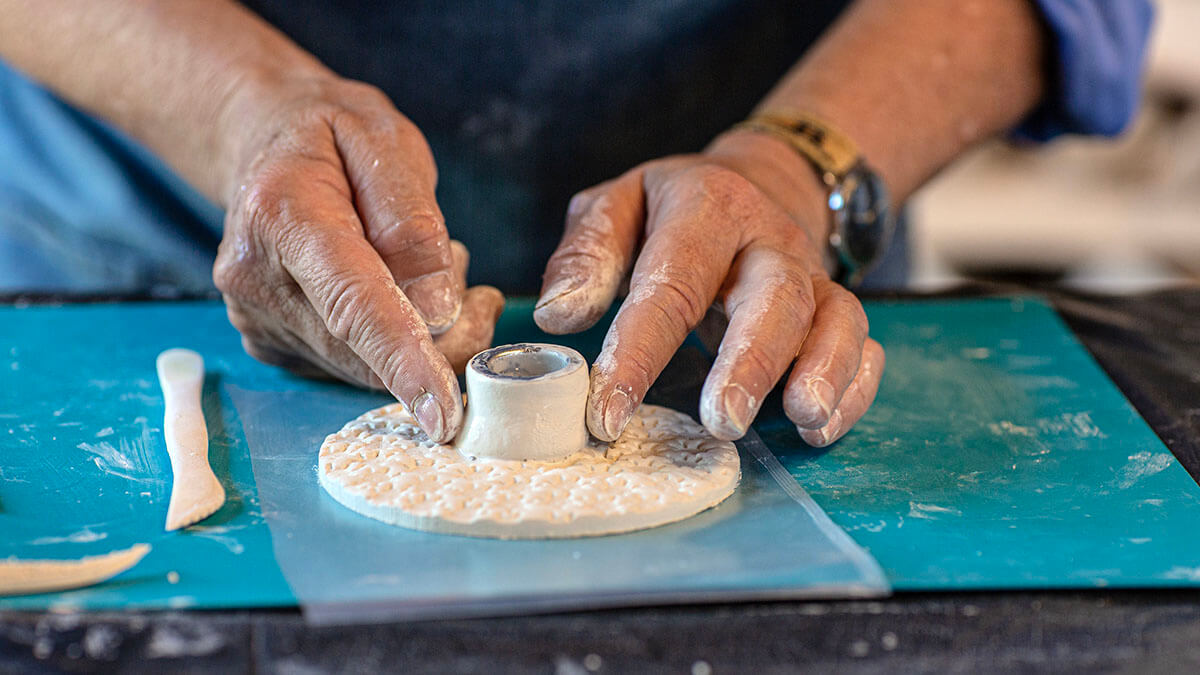
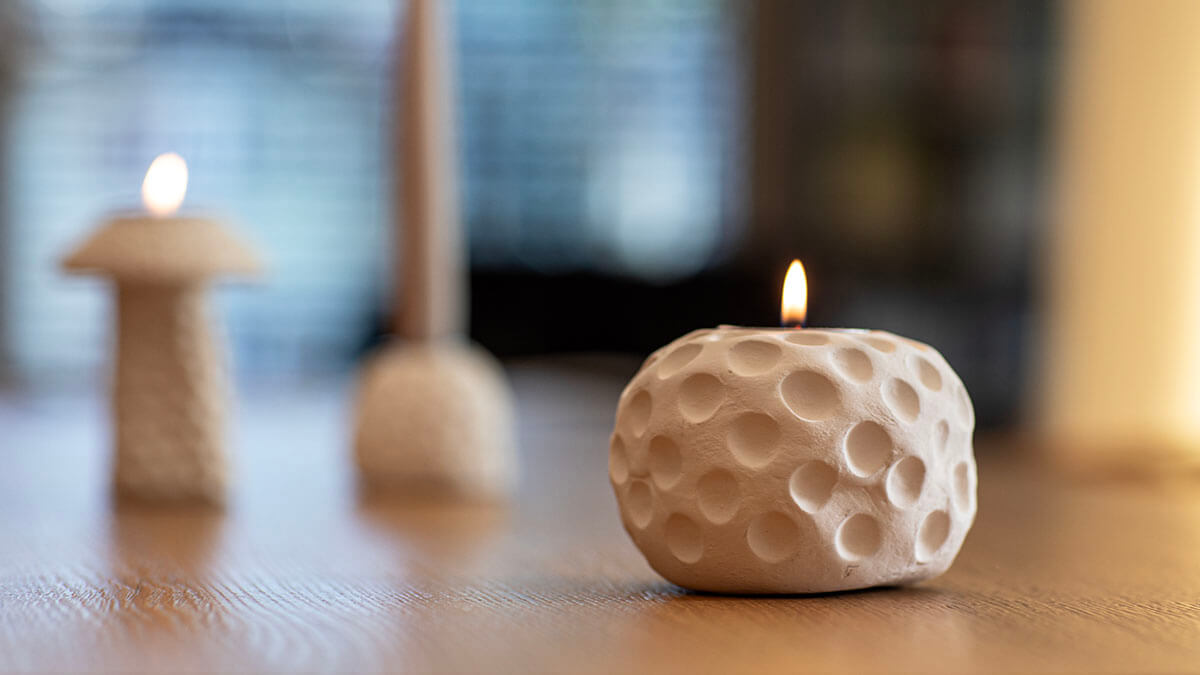
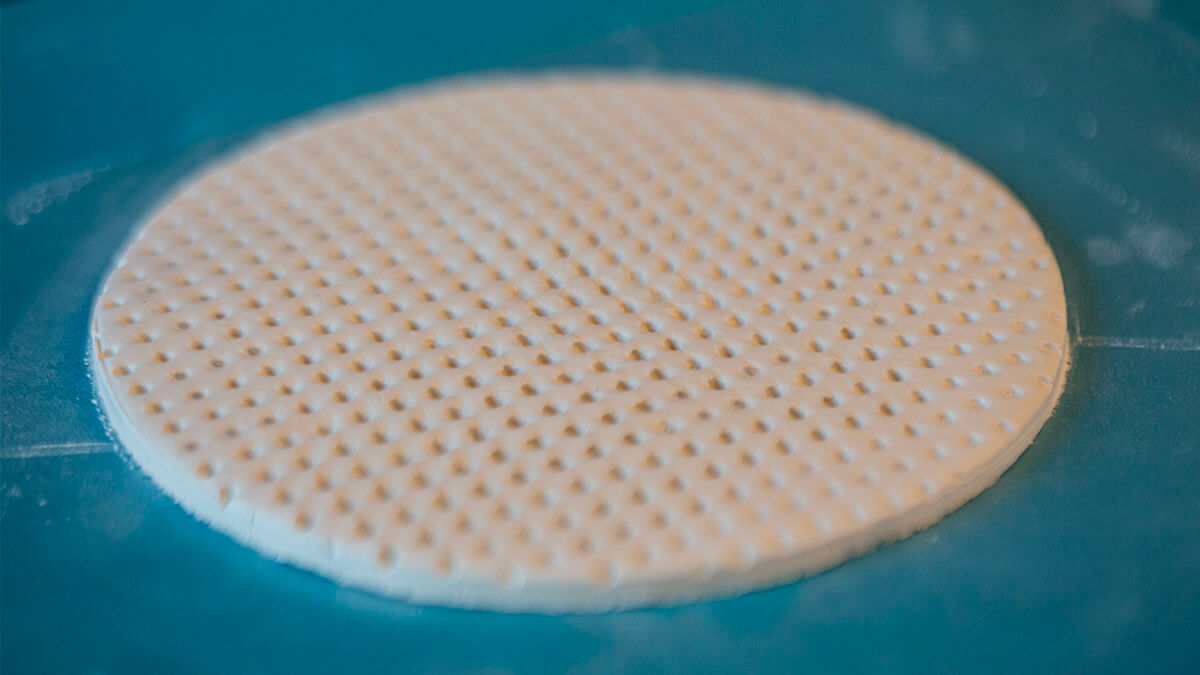
The embossing technique can be used to customise candle holders. Whether with iron-on bead plates, Edding lids, screwdrivers or Allen keys - every surface is given exciting textures.
Art. 11770

Art. hoba11771
Art. 11771
Art. 11773
Art. 11774
Art. 9466

Art. hoba9054
Art. 9467
Art. 9468

Art. hoba0043
Art. 11772

Art. 3289M
Art. 6396
Art. 10250
Art. 10592M
Art. 8593
Art. 6397
Art. 6739

Art. hoba9134
Art. 6740
Art. 7415
Art. 6393
Art. 6395
Art. 10251